
WordPress Primer for DVHH Volunteers
Introduction
A bit about WordPress and how we use it
WordPress is a popular and powerful tool for building and maintaining websites. You can think of it like a combination of a word processor, file manager, and page layout program.
There are a multitude of “themes” available that define the look and feel of the site. There are “plugins” that extend the capabilities and allow the website to provide just about everything one might want.
Themes and plugins also define the tools that are available for building the site and how they work and the features they provide.
That vast flexibility can overwhelm someone new to WordPress.
Our new website is actually a large collection of individual sites. They are tied together with links to make the site quick to explore and to find information easily.
We use the “Astra” theme on all these individual sites to provide a consistent look and a cohesive whole.
WordPress also provides a number of user levels. As a DVHH volunteer you will be assigned as an “Editor”. At this level you can build pages and add media. You will not need to be concerned with the overall site layout, headers, footers, menus and many other details.
Getting started
Your task is to move information from our old site to our new sites. When you have chosen a specific task you will receive an email that invites you to log into the new site and to set your password. Then you will see a link to log in. Use your username or email address and your newly set password to log in. You will be taken to the Dashboard.
The WordPress Dashboard
To log in to the WordPress dashboard the site name with “/wp-admin” appended is used, for example, “billed.dvhh.org/wp-admin”. The dashboard looks about like this:
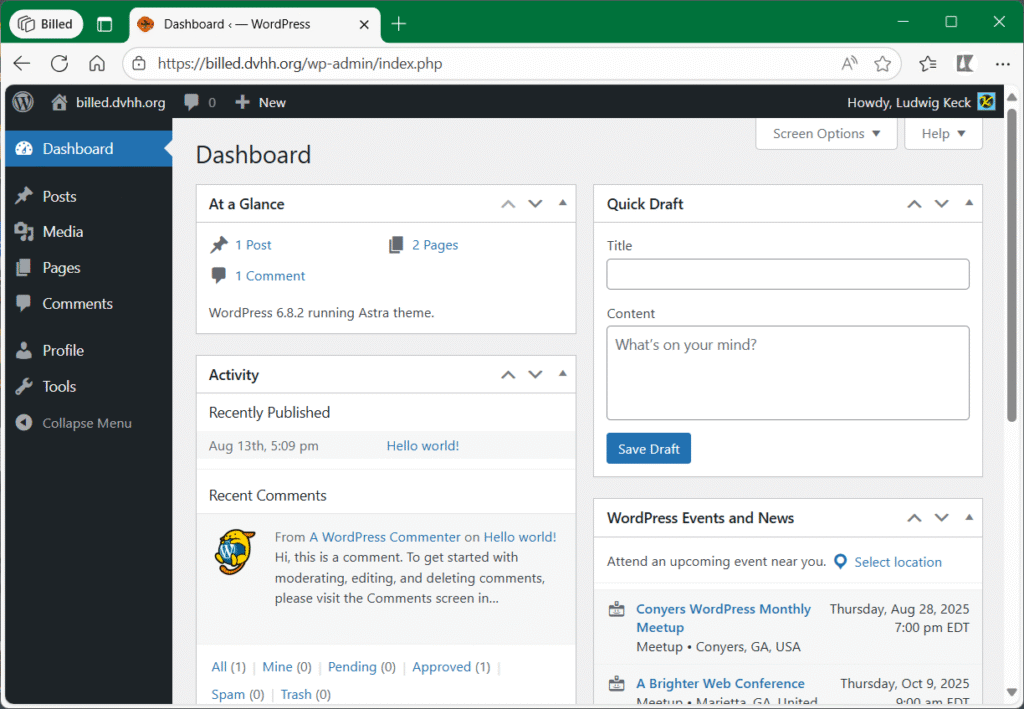
The site name shows in the upper left. Move the cursor over the little house or the site name and right-click – select Open in new tab. That shows the site you are working on in a new tab. Your name will show in the upper right. The pane on the left shows Posts, Media, Pages, Comments, Profile, and Tools. For our DVHH Project we do not do any posts and there is one sample comment that was created when the site was set up. In Profile you can set up some preferences and change your password. You won’t need to do that as you just ar getting started with this site. Using your WordPress password is recommended. Tools will not show anything. The two things that we are using here is Media where photos, maps, illustrations, and other media like PDF documents are stored. Our primary concern is Pages.
Click on Pages. The dashboard will now show a list of the pages on this site. The site will have been set up with two pages – Home – FRont Page and News – Posts Page.
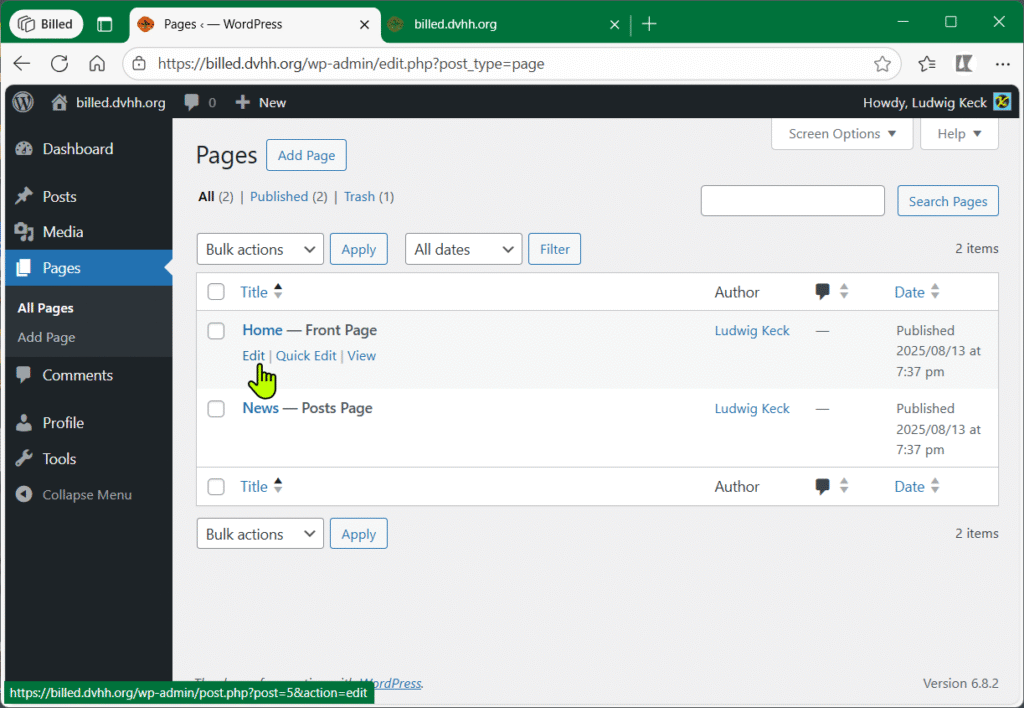
Move the cursor over Home Front Page. A line of links will show up immediately below the page name – Edit | Quick Edit | View. The View option will display that page – Quick Edit allows setting some detils, not needed for the tasks here. The Edit option opens that page for editing.
Click Edit below the page name. This opens the page for editing in the online WordPress Block Editor.
You might see Welcome to the editor. Go ahead and click through the few explanations. The last panel of the welcome guide provides a link to the WordPress block editor documentation. You might want to go through those pages and videos before going on. On this page we will cover many of these items again.

In WordPress everything is built with “blocks.” A block is just a piece of content (paragraph, image, video, list, quote, button, etc.). Each block comes with its own set of controls for changing things like color, width, and alignment. They are shown in the right Settings sidebar under the Block tab. The block-specific controls will show and hide automatically when you have a block selected.
All of the blocks available to you live in the block library. You’ll find it wherever you see the + icon.
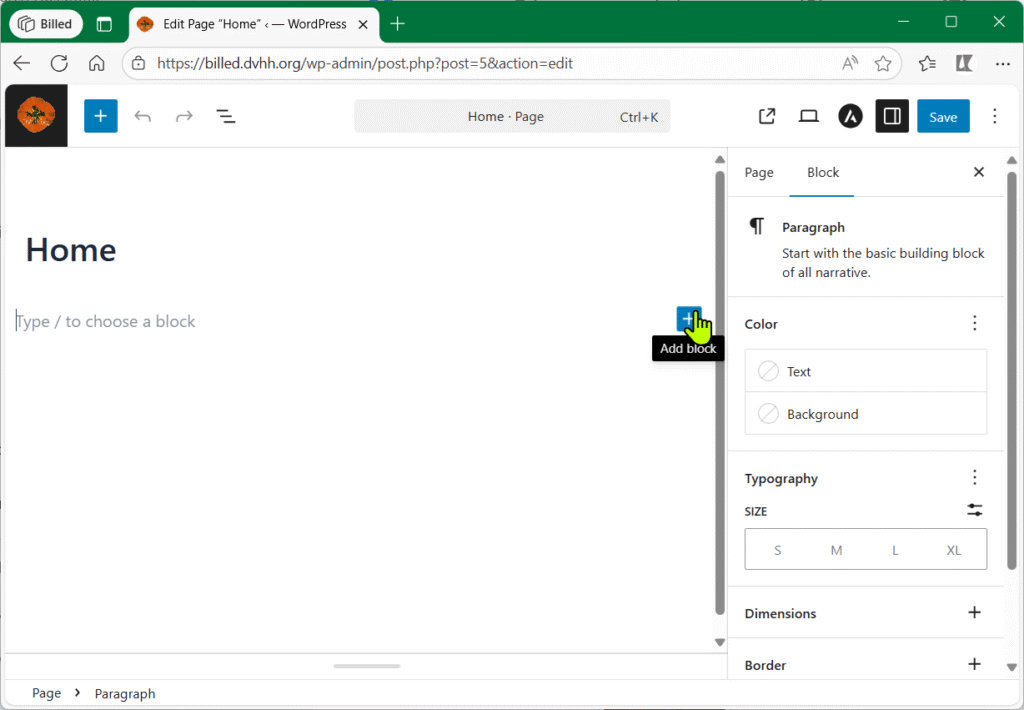
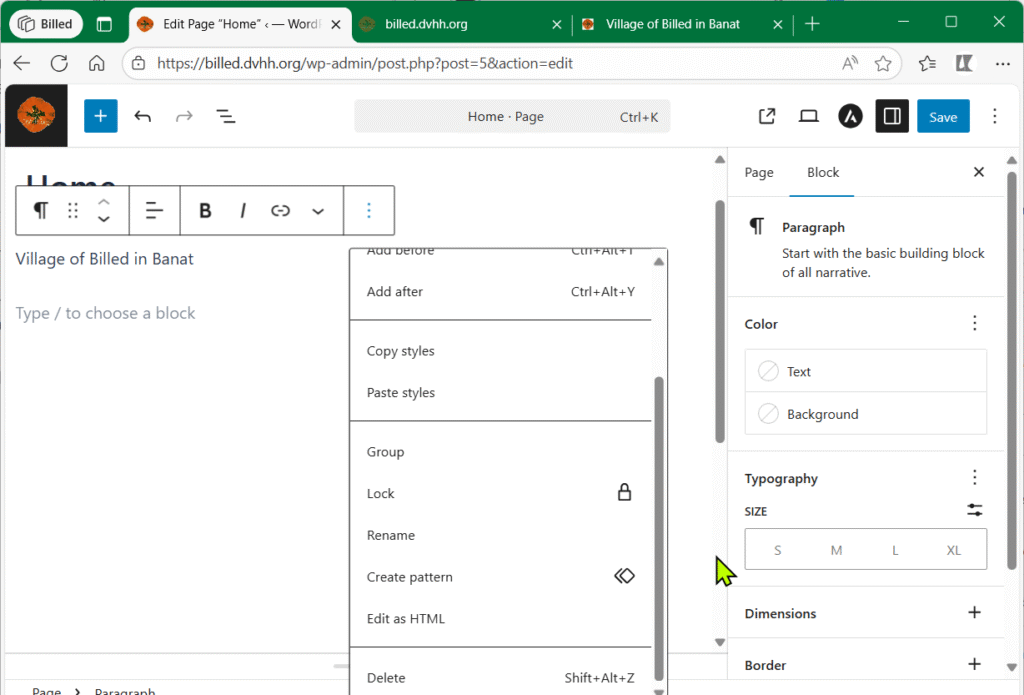
Let us take a look around the page being edited, see the illustration above. In the upper left corner you will see the DVHH poppy icon, because that has been set up for this site already. Clicking the poppy will get you back to the dashboard and display the pages list. Next on that tool bar is the Add block plus sign (on a dark background). That opens the Block Library in a sidebar on the left. It is used to select a block to be inserted on the page. The library contains a huge selections of block, we will only need some of those in our DVHH Project here. As the editor opened it already loaded the Paragraph block and you can start by typing text. On the right end of a blank line you also see the Add block + icon to allow selecting a different block. Before we get to that let’s review the rest of the items on the top task bar.
Next in line are the Undo and Redo arrows, they will be grayed out (not selectable) at first. Then comes the Document Overview icon, three lines staggered above one another. That opens a sidebar on the left shown the block symbols for the page content. We will get to that later. In the center of the bar is the name of the page being edited. The Ctrl-K link opens a search option – more on that later. The next icon, the square with an arrow pointing to upper right will open the page in a new tab, next to that is the page view or preview icon, it looks a little like a laptop computer screen. Clicking that will allow you to view or preview the page as it will appear either on a computer desktop, a tablet, or a mobile phone screen, also with an option to do see it in a separate tab. This is very useful as we will demonstrate later.
Next on the top toolbar is an A in dark circle for setting Astra option, we will not need that in page editing. Then comes the icon for displaying or hiding the right Settings pane. This is followed by the most important option of all Save or Save draft. Do make use of that and save your page frequently so you can stop editing the page (and take a coffee break 😉 ). Finally on that toolbar on the right end are three dots above each other that opens an Options sidebar with a number of useful settings. We will discuss those in detail later down.
Let us go on with the Add block plus-sign on the right end of that first blank text line. When you click that icon it opens a small popup window with just a few block options. The default ones are shown in the illustration here. As you use various blocks the will show up in this little block library to make reuse easier.
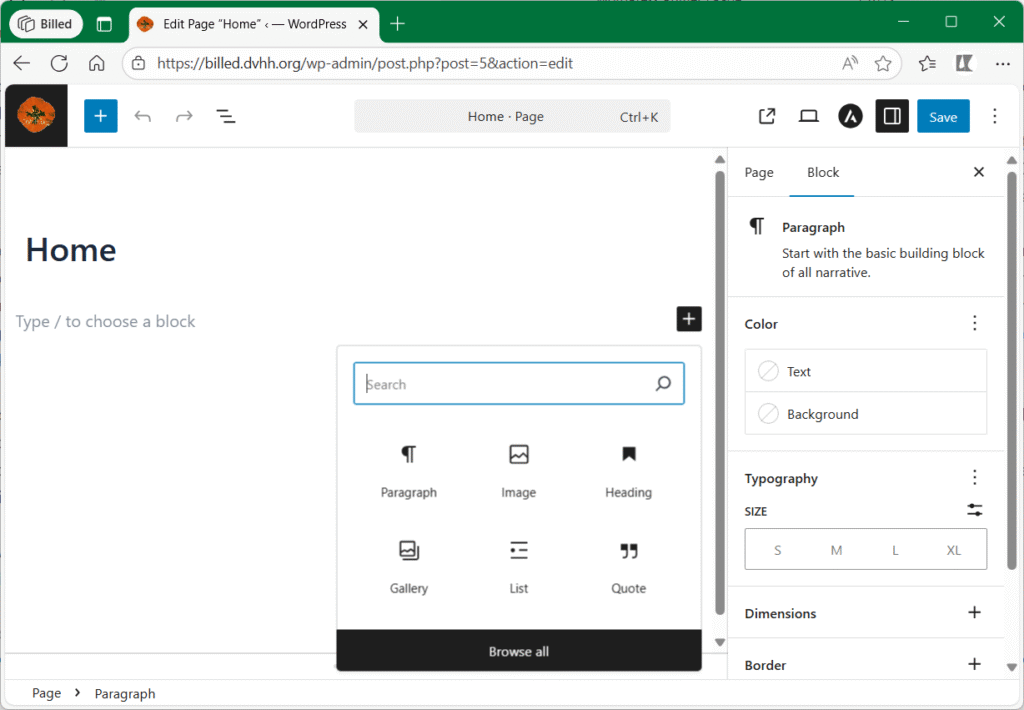
In the popup library there is a search option at the top. If you type in the name of a block it will show up so you can insert that block quickly. You can click on the various block icons to insert that specific block. Clicking on Browse all open the left sidebar with the full block library.
The most important blocks are the paragraph block, ¶, and the Image block, a little square with a jagged line. Other blocks will be explained farther down.
As you get started with the Home page, copy the first text on the old DVHH site page for the page you are working on. It is useful to open the old DVHH site to that page in a separate tab so you can go back and forth easily.
TIP
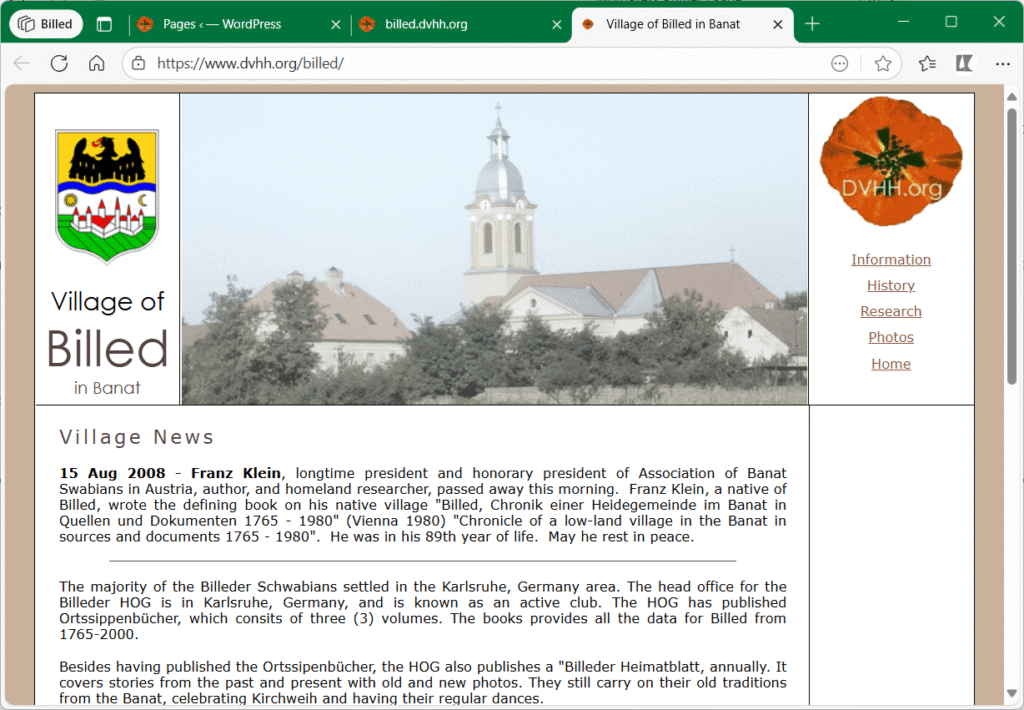
If you have not added a tab for the new site you are working on go back to the dashboard, click the < in the browser bar at the top, and then right-click the site name (top left). In the site you will see a link to DVHH Home in the top menu bar. Right-click on that and select open in a new tab. That will go the the old DVHH website as we work on this project. You can then go to the specific page or site that to are working on copying over to our new site. As a illustration here we have the Billed village site open:
You can copy text there one little section at a time and paste it into the new page. Select the text and copy it, Ctrl-C, and paste in on the new page with Ctrl-V.
Do not copy images that way. It will seem to work, however the images will not be brought over to our new site. It will merely add a link to the image on the old site.
Select text on the old site one small section at a time to avoid copying the table that is used on the old site. Here is what you might get if you copied the table along with the text:
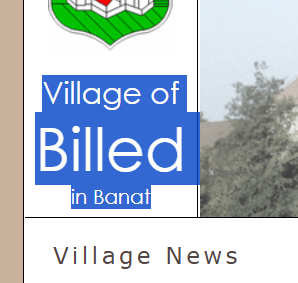
We don’t want text in tables on the new site. The illustration above shows the block toolbar that is displayed above or below a block with block-specific options. More on that later.
Let’s continue with typing or inserting text.
When some text has been typed or pasted in there will be a toolbar over or under the block. For text the paragraph toolbar shows like this:
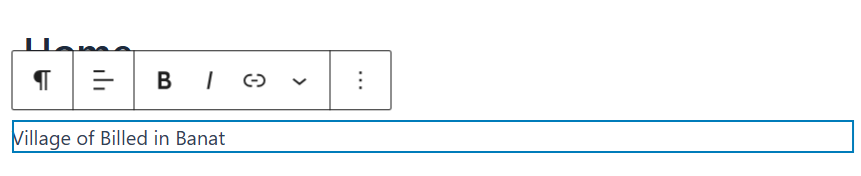
The first icon in the paragraph toolbar will be the paragraph symbol, ¶, clicking that allows selecting other text options.
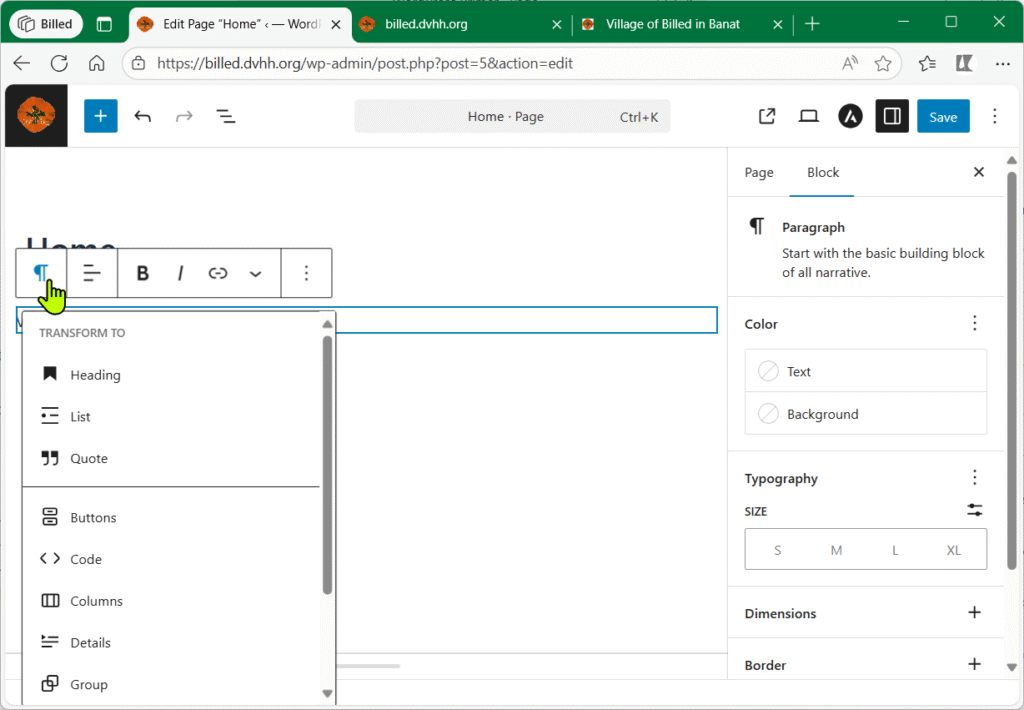
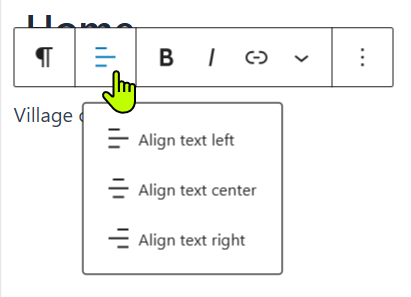
Text options are Heading, List, Quote, and more. We will get to them farther down. The next icon allows text alignment, left justified, centered or right justified. The options popup is shown on the right.
This is followed with the B, bold, option, then the I, italic, option. After that is the option for assigning a link to selected text.
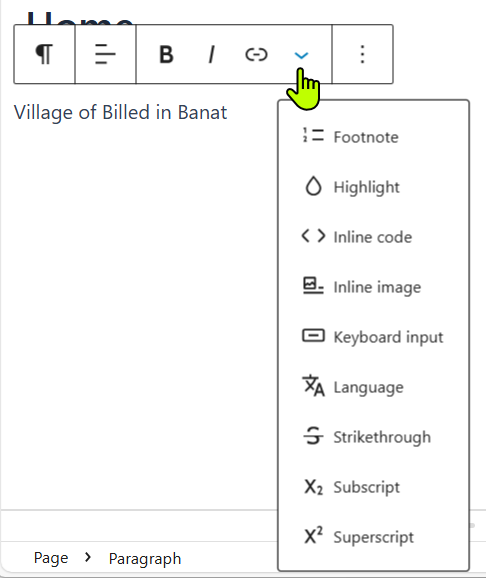
The next icon, the down-arrowhead, like a v, brings up a range of text modifying options. The include Footnote, Highlight, inserting Inline code, inserting an Inline image right in the line of text, selected text Strikethrough, Subscript, Superscript, and more.
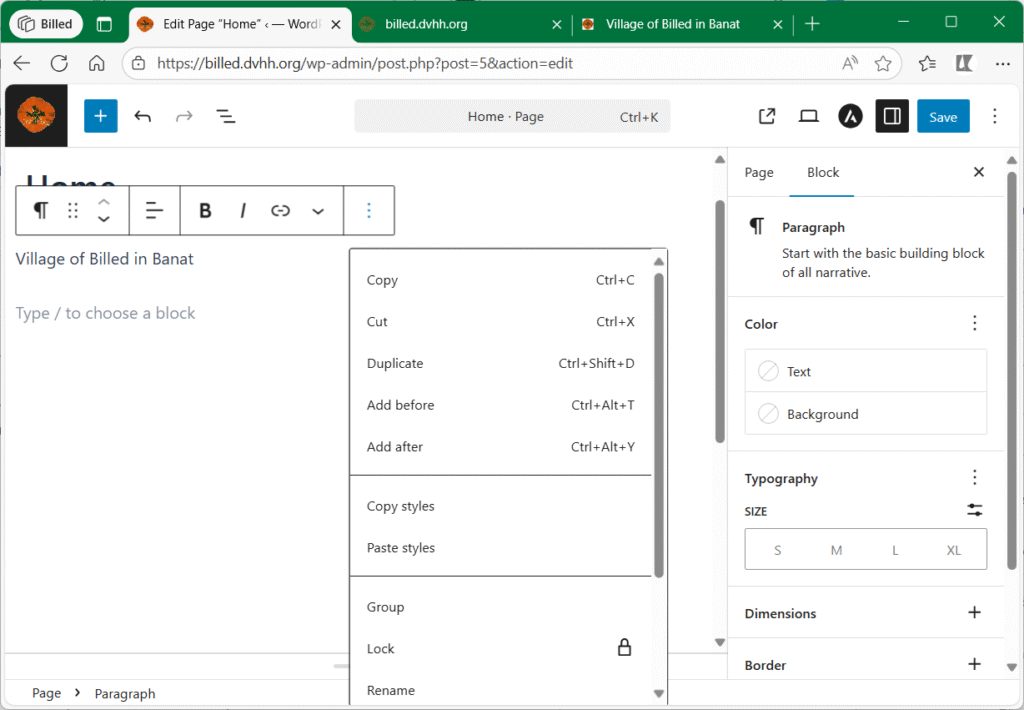
Finally in the paragraph toolbar there is the three dots icon for more Options.
Those options include Copy, Cut, and Duplicate the current paragraph. Add before, Add after a new paragraph before or after the current one, and others. Scrolling down in the small window past the other options gets to Delete.
The difference between Cut and Delete is that Cut places the paragraph into the clipboard so it can be pasted in on a different line. Delete does just that.
Note that you can also use the Undo and Redo options in the top toolbar.
Here are illustrations showing the options menu:
Note in the illustrations above that the paragraph toolbar looks different. Once you have added a paragraph clicking on it (anyplace in the text) there are two additional icons. Blocks can be moved up or down with the six-dot Drag icon or step-by-step with the Move up and Move down arrowheads.
As you have seen, blocks can be moved, rearranged, and styled individually. We have not get gotten deeper into the styling options.
The right sidebar offers the styling options as appropriate for each block. For the paragraph block these include setting text and background Color.
You may wish to do that to make the new page look more like the page on the old DVHH site that you are copying over.
There is also the typography option for setting text size – please use the default size unless really necessary to use a smaller or larger font size. The Dimensions option allows Padding or Margin around the paragraph (rarely used).
Similarly, the Border options rarely needed. When needed you can specify the border line width in pixels, px, or other dimensions.
Attributes you will not need. The Advanced option lets you set an HTML ANCHOR, a single word or two without spaces to allow going to that particular place in a page. You can add also additional CSS classes – please don’t.
We will get into some other details on using the block editor, but next let’s go and add a new page.
New Page
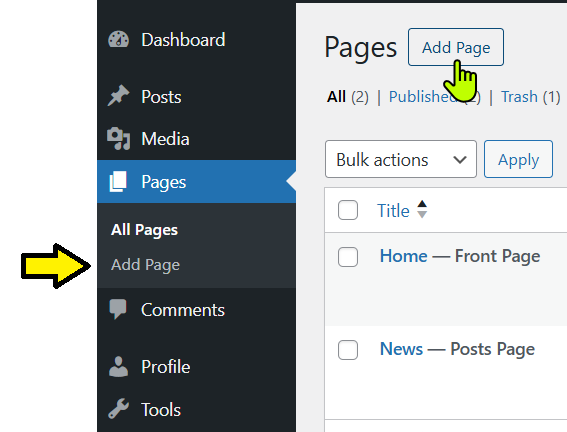
If you are editing a page save your work and click the poppy in the upper left. That will show the list of pages.
Right at the top is the Add Page option, pointed out with the hand icon. There is also an Add Page option in the left sidebar pointed to in the illustration with the yellow arrow.
Either will add a new page and open the editor to tat page.
The new page will look like this in the editor:
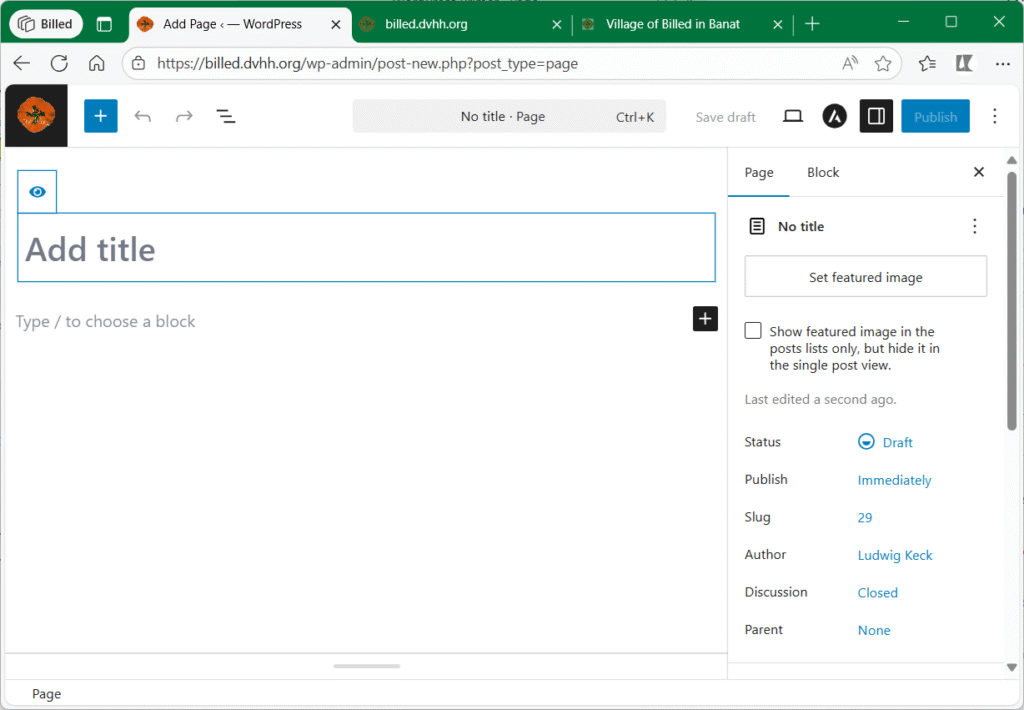
The Add title box is for typing in the name of the new page. This might be something like Information, History, Research, Photos, as needed.
Below that is a blank text line. Typically, a page has a heading.
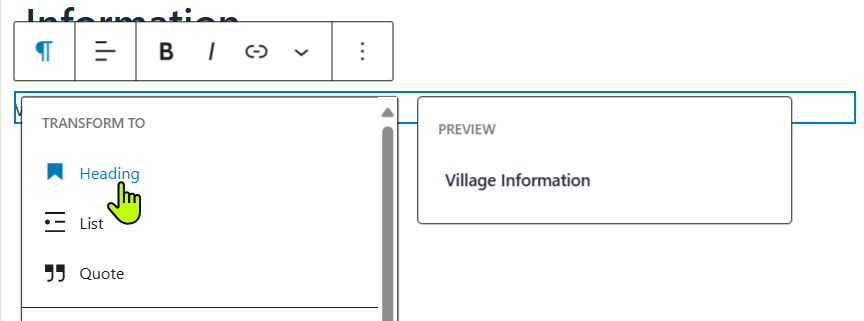
Type in the heading text, like “Village Information”, and click on the paragraph icon in the paragraph toolbar. Click Heading. Headings come in several sizes. The default size is H2.
========
more to come
Page title
Heading
Editing in a page
Using blocks
Moving a block
Layout view
Right sidebar
Setting block features
Setting page features
Page layout
Text blocks
Image block
Spacer block
Columns block
Row block
Making links
Page hierarchy
Media Library