Bringing the villages information to the new website
On the new website each location will have its own page.
There are several tasks involved in creating the page and incorporating it into the site:
- Creating the new page.
- Copying images transferring them and inserting them into the new page.
- Copying the textual information to the new page.
- Adding links to the new page into the village list page on the new site.
- Updating the links on the page.
This page describes how to do the first three of these tasks step by step.
Do these steps in the order shown here.
There are good reasons for doing this task in this way that are somewhat technical and will be described on another page.
The instructions are specific here for the Banat villages as that is our first project segment.
Get Ready
Open old site to be copied
- Open your browser (Microsoft Edge)
- Open the old DVHH site
- Click on the region you are working on.
- Then click on Villages. This is the link for the Banat region: Danube Swabian Banat Village List
- Use the “alpha-bar” and click on the letter to get to the task section you are working on.
Login to new site
- Open another tab and log in to the new site.
- Log into the dashboard – click banat.dvhh.org/wp-admin
- Enter your credentials – email address and the password that you set up.
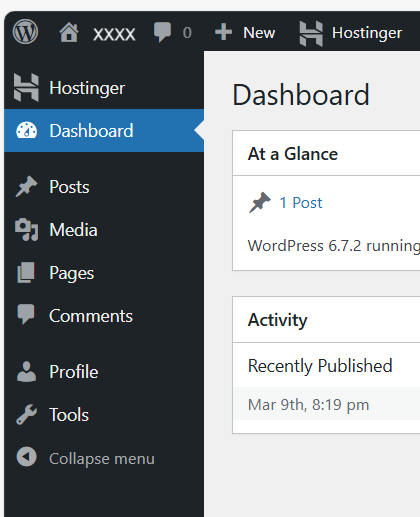
- The WordPress dashboard will look about like the picture on the right.
Open Word
► On your desktop open Word to a new blank document.
1. Select village
► Click on the tab for the old site.
- On the old site, scroll down to the next village in your task list that you have not already done.
- If there a two or fewer lines of text below the region line on the right (see the illustration below) that do not contain any links (underlined), skip the village and go to the next one with three or more lines of text.
- NOTE: If there are any links below the region line (link), do not skip that village but go ahead and create a page for it as detailed below. Villages that have little information, like the illustration here, should be skipped.

You are now ready to start transferring the information for the village you selected.
NOTE: For the new pages created in this part do not copy any material from any other pages. Do not follow any links to other pages.
2. Copy Images
► If there are any images for the selected village copy them to your Downloads folder.
The detailed instructions for copying images are given here: Copy Image
► Use that procedure to copy all the images (if any) to the Media Library on the new site.
3. Create a new page
► Click on the browser tab for the new site.
The WordPress dashboard will look about like the picture on the right.
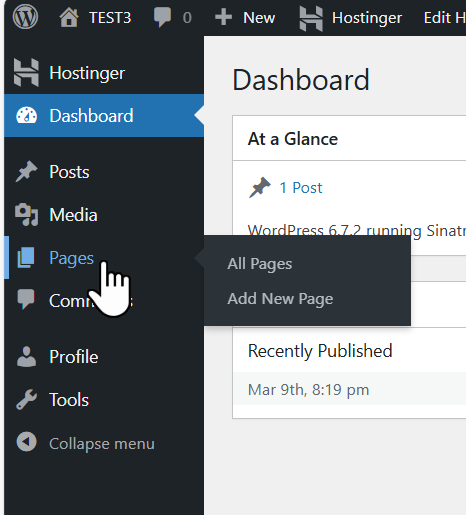
► Move your cursor to Pages.
A little menu will appear next to Pages.
► Then select Add New Page in the little menu on the right.
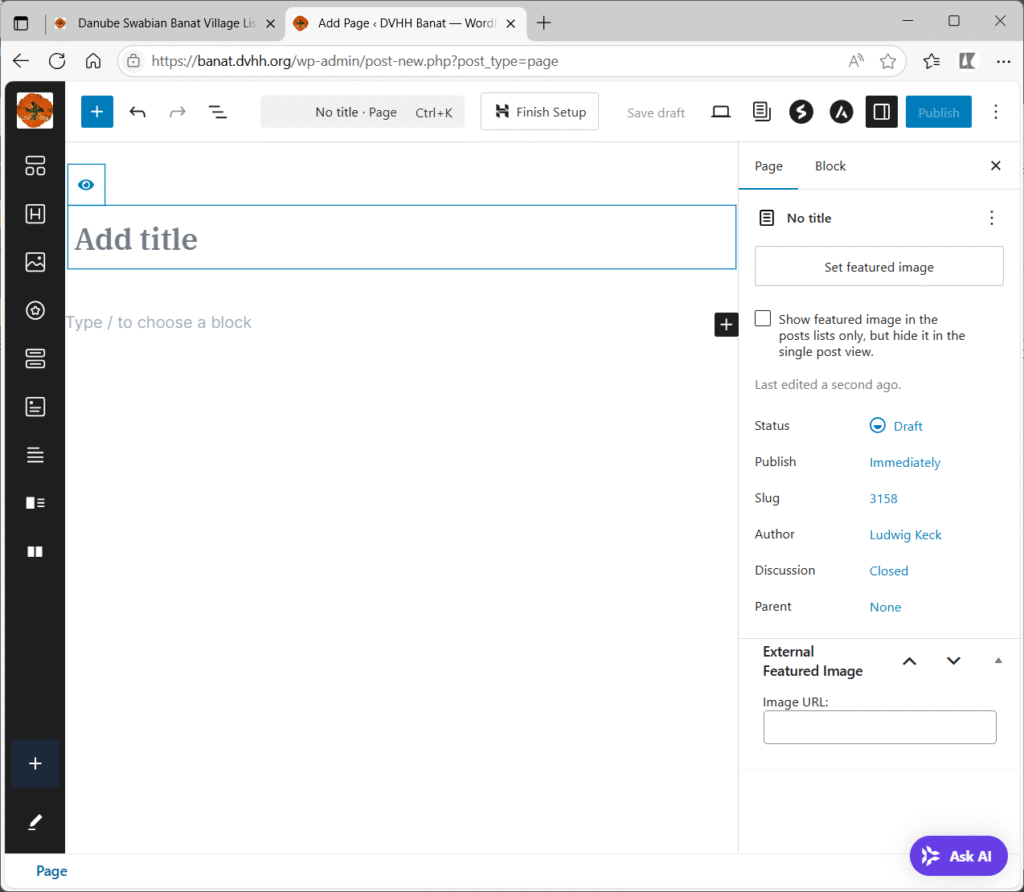
The new page will open.
The new page will look about like this:
Stop here and go to the next step.
4. Copying the Information from the old site
Copying text on the old site can be tricky because of the way the old site is coded. The old site uses tables for formatting. Those do not work well on the new site. The instructions below have you first putting the information into a Word document and then copying from there and inserting into the new page on the new site. If you are skilled in copying just the text on the old site you may use the instructions shown on the how-to page for Copy Text.
► Click on the browser tab for the old DVHH site
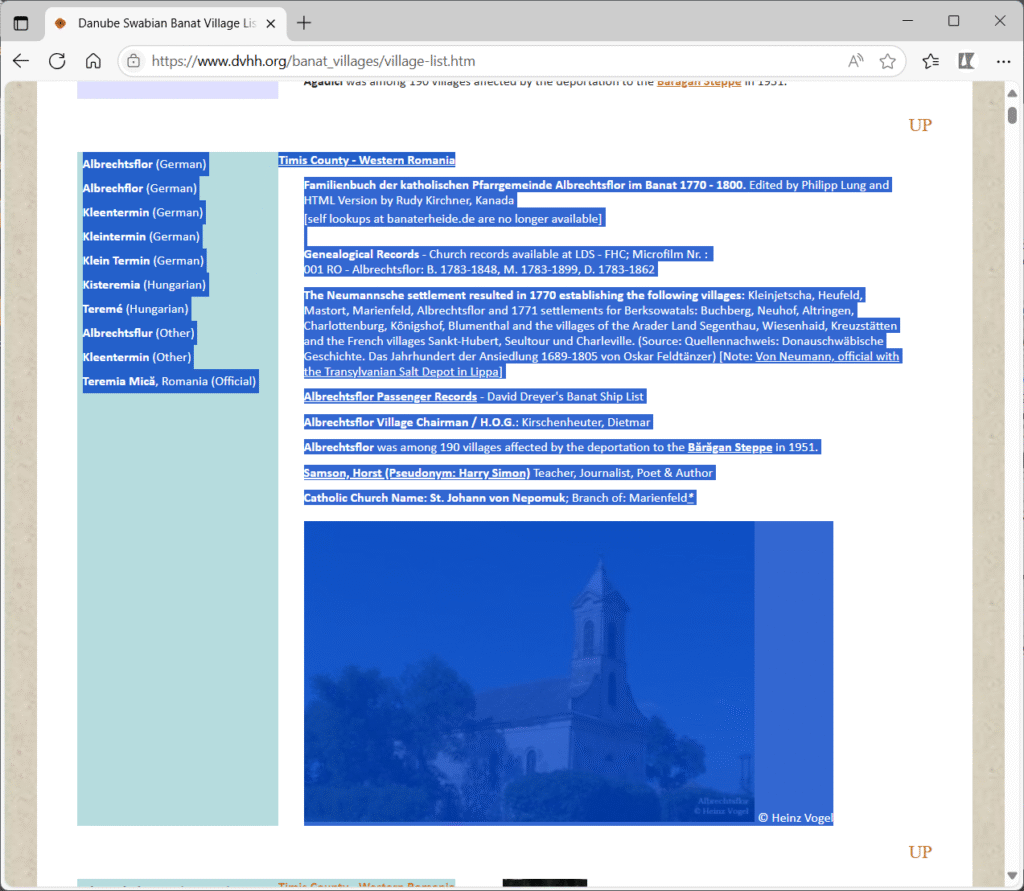
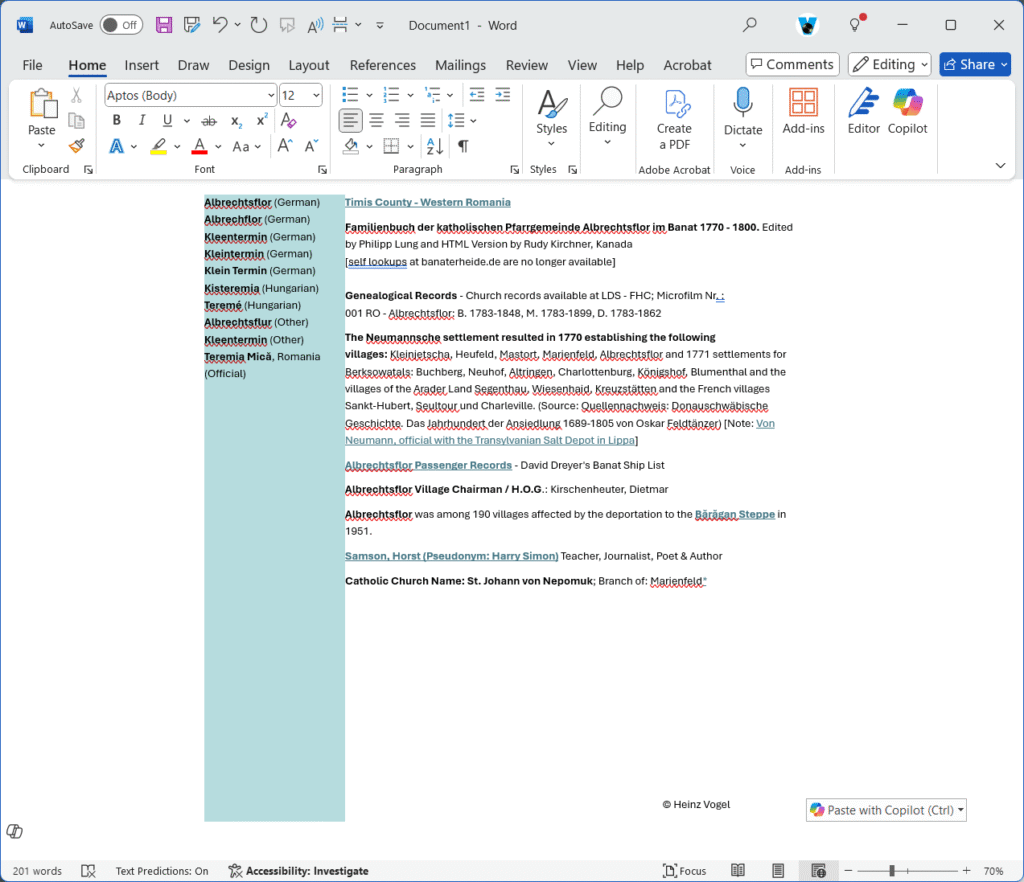
On the old DVHH site, Danube Swabian Banat Village List, go to the village information that you wish to copy to the new site.
Select everything for that village.
Here are illustrations that show a village site and also with everything selected:
With everything selected copy the information (Ctrl-C). then paste it into a blank Word page (Ctrl-V).
It will look about like this:
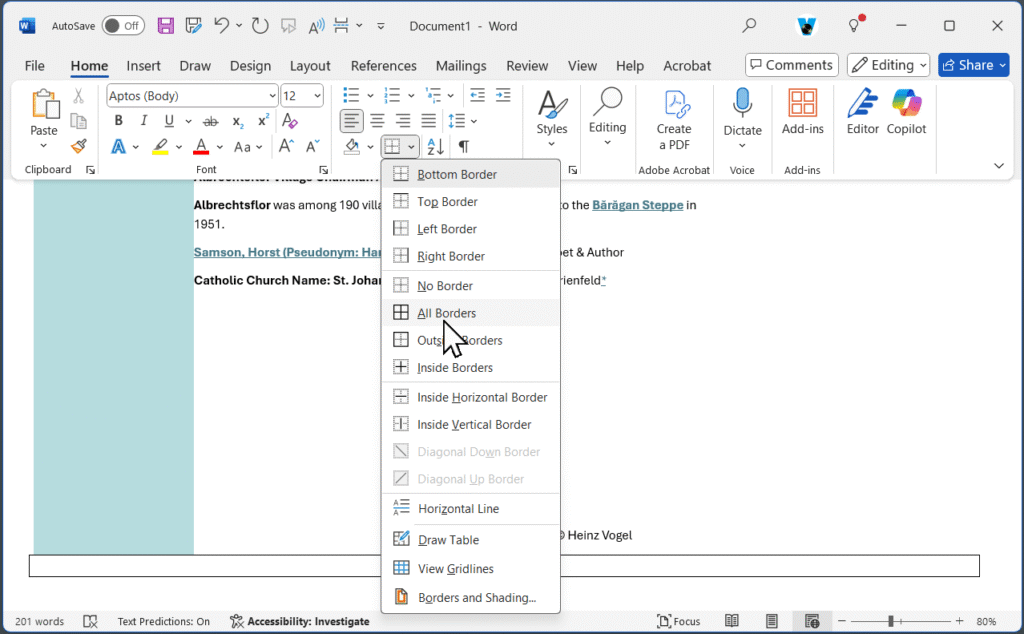
OPTIONAL:
You may wish to show all the borders in the Word document. That will make selecting just the text inside the table boxes easier. NOTE: That may not always work. Try selecting View Gridlines instead.
In Word select the village names in the left field (colored background). Copy the names (Ctrl-C). Be very careful to select only the text inside the table box. Do not select outside the colored box as that will copy the table borders.
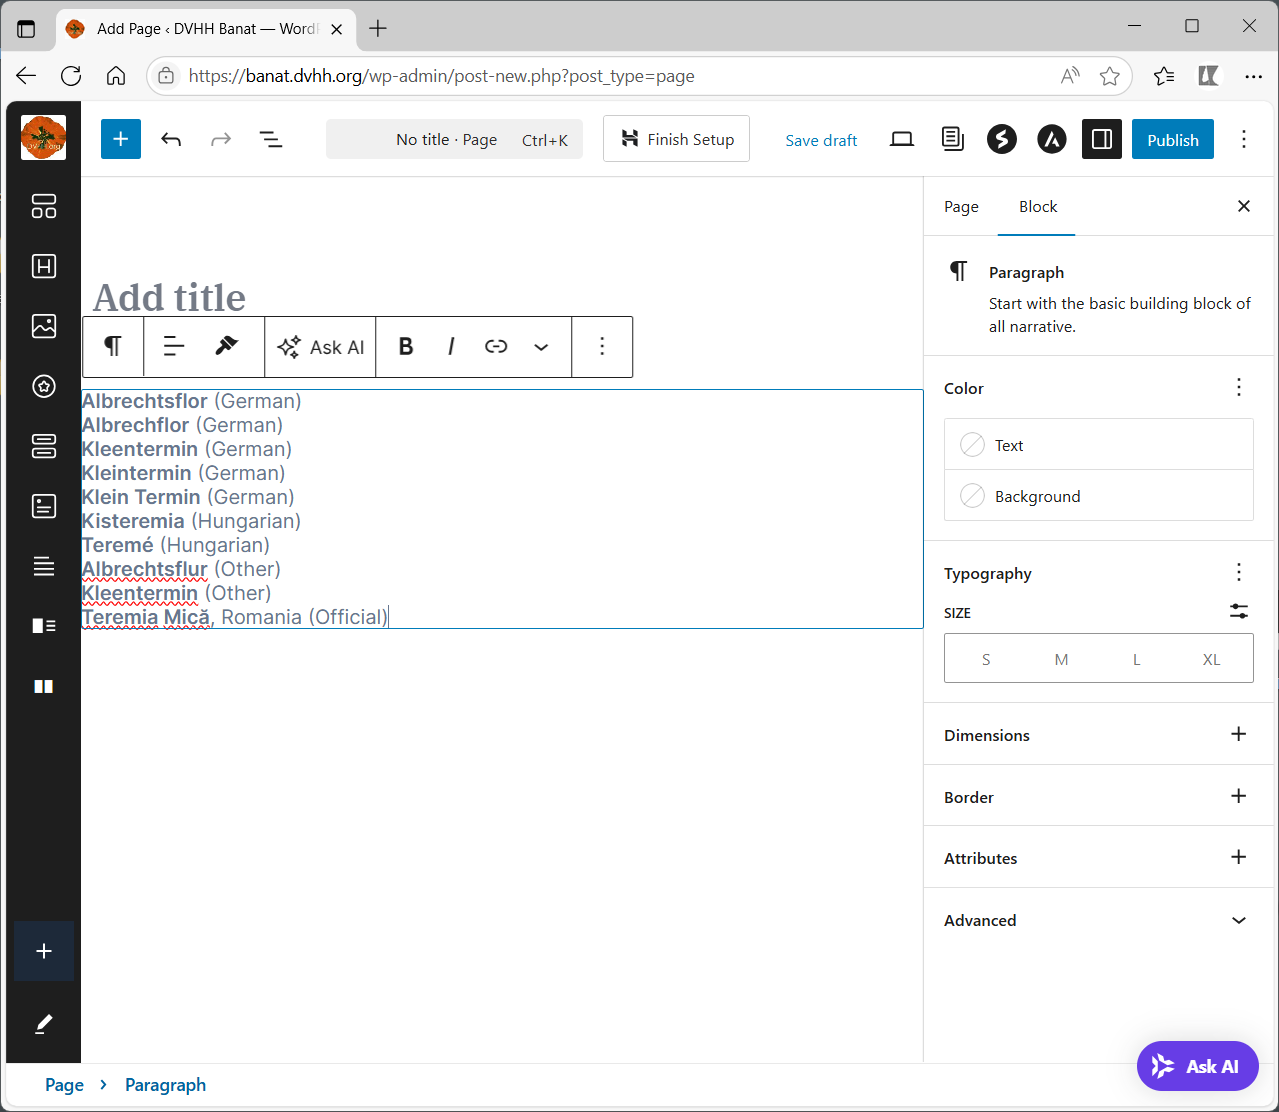
Then paste them into the new page in the browser on the line below where it says Add title – right where it says Type / to choose a block.
After copying to the new page it will look like this:
If you do not see the paragraph icon in the little menu bar above the pasted text but see the table icon instead, you have made a mistake and selected the table information. Delete what you have pasted in and go back to Word and select the text again.
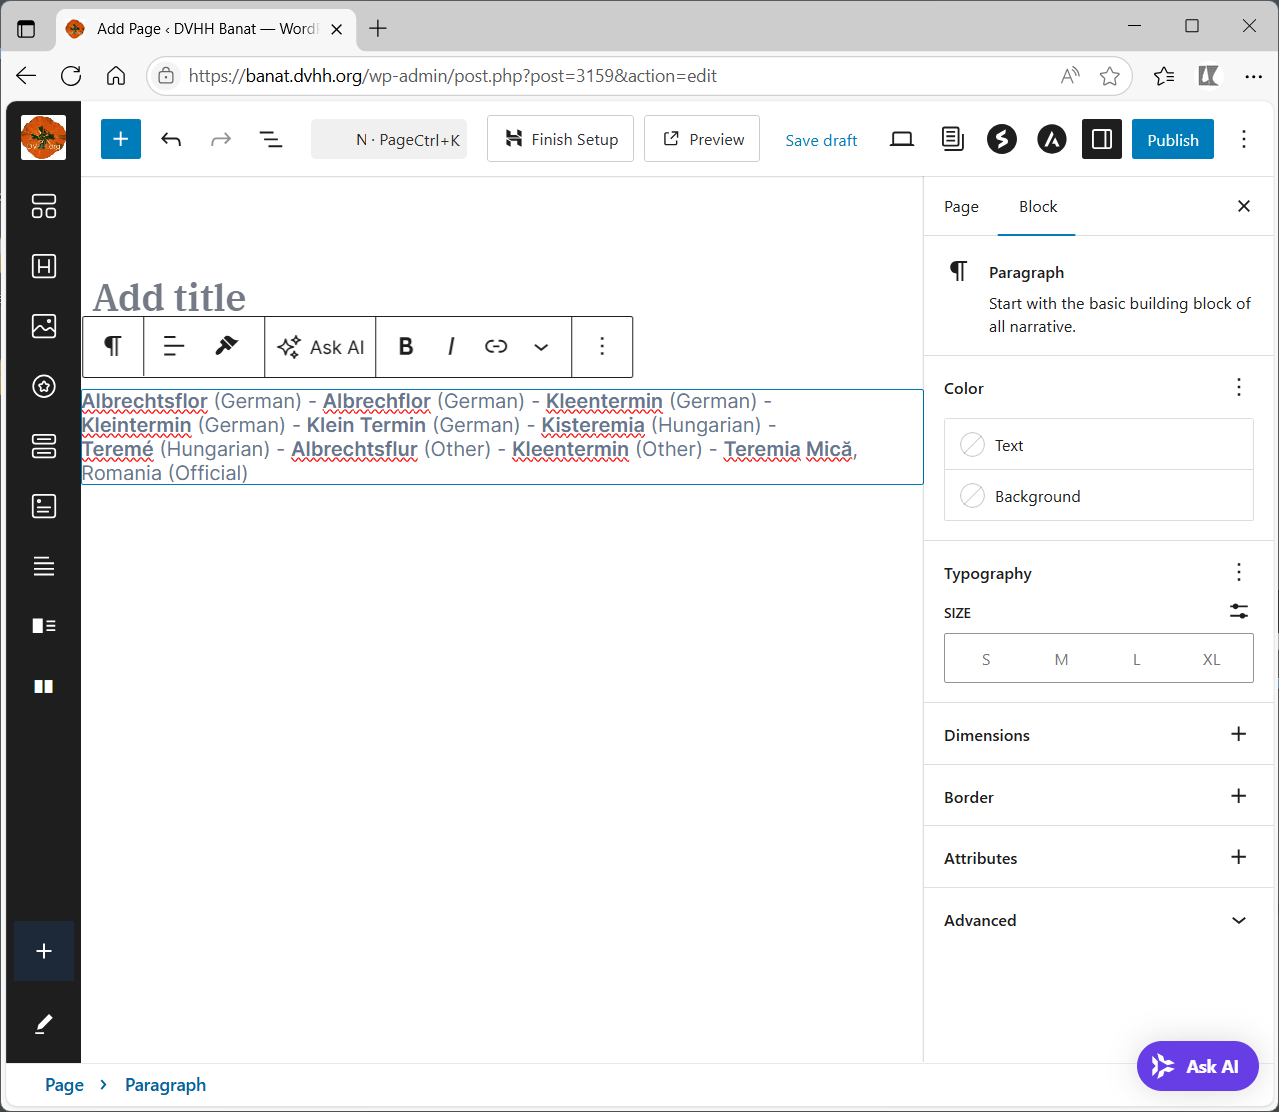
► Starting at the end of second to last line type a space, hyphen, space, then a Delete. Do this for each line going up. Here is what you will get:
► In the little menu bar above the text of the village names click on the paragraph icon (first one on the left).
► Then click the Header icon (as shown by the hand cursor).
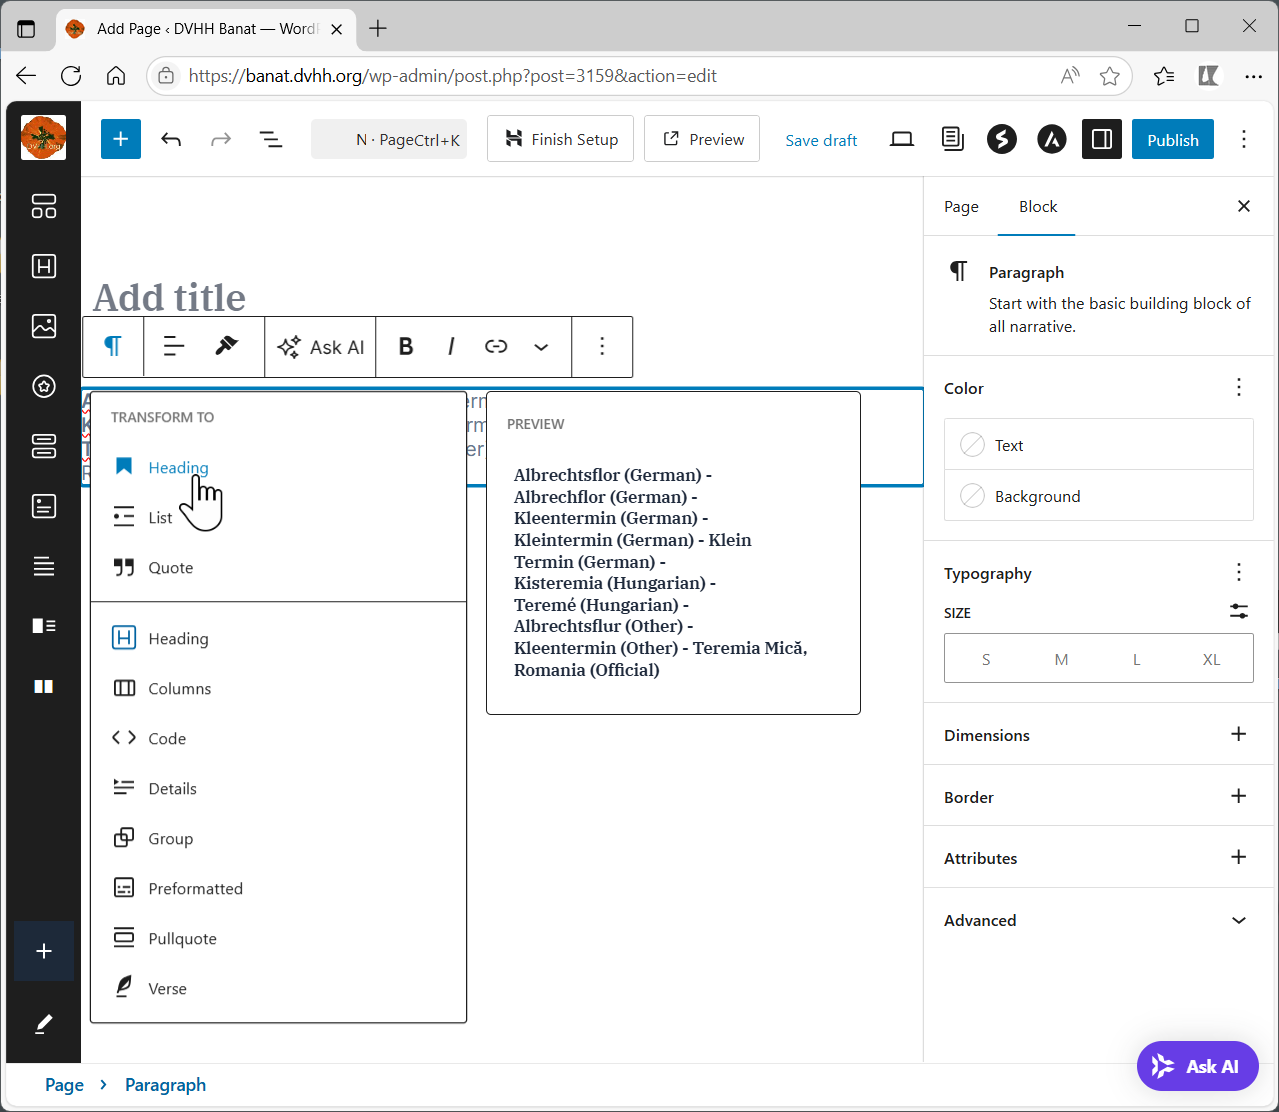
The village names will become large as the default is H2.
► Click the H2 and select H3.

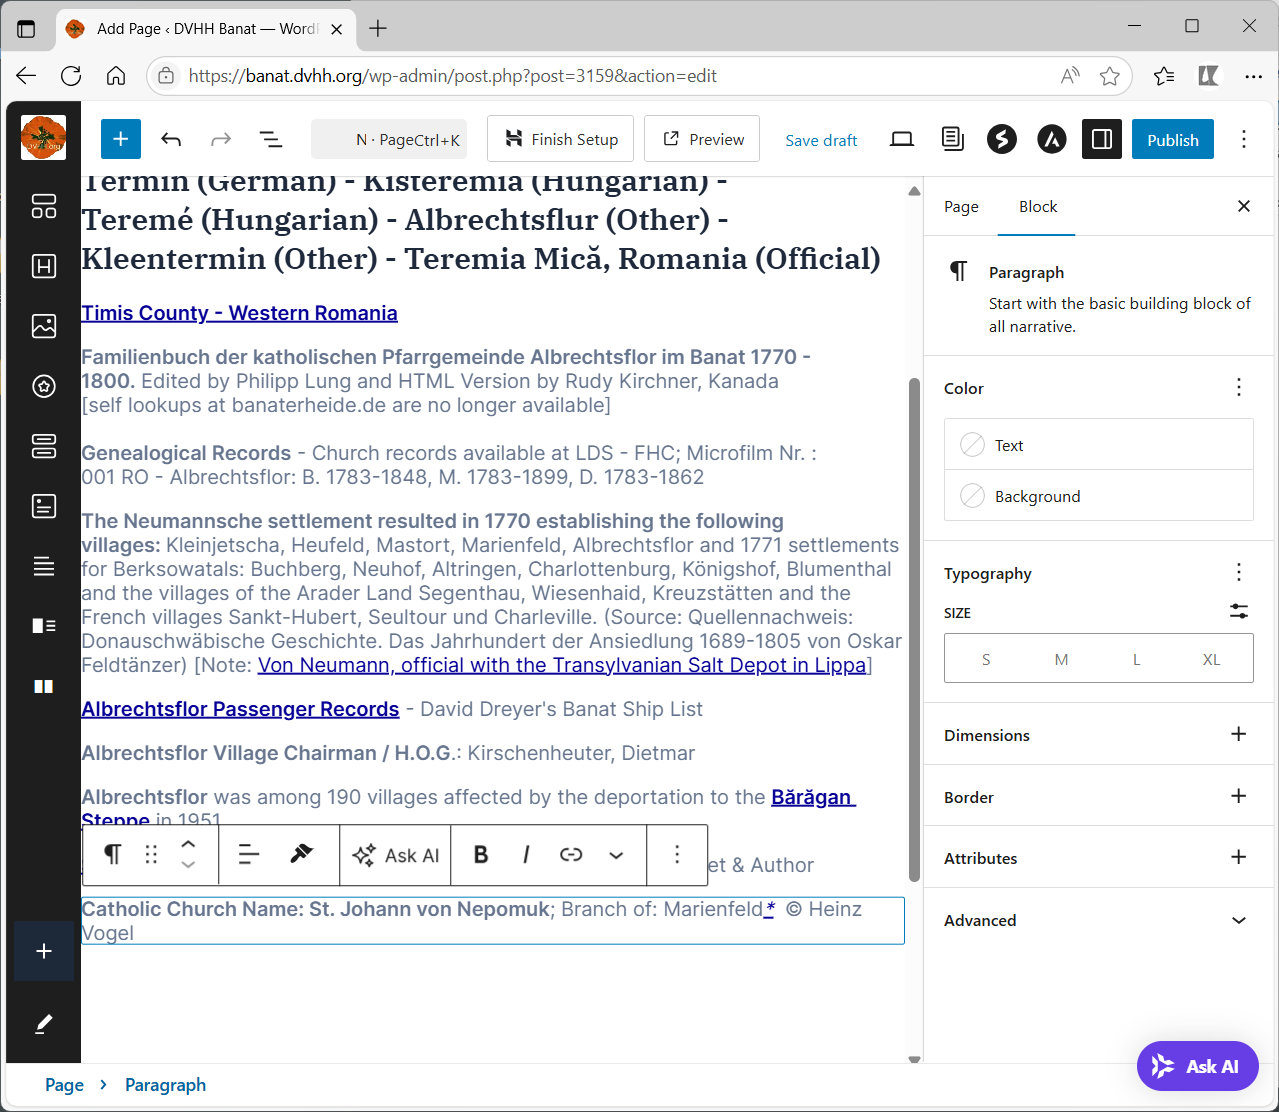
► Go back to Word and select and copy the text in the right pane. Do not copy any images that might be there.
Be careful to select all the text including the asterisk at the end of some lines giving church information (see “Asterisk link” on Quirks page).
► Paste the text into the new page. This can be done in several steps if there is a large amount of text or it is interspersed with images.
► Find the location for an image. You may have to do a return there to make space for the image.
► In the places where images belong click the plus sign to add a block.
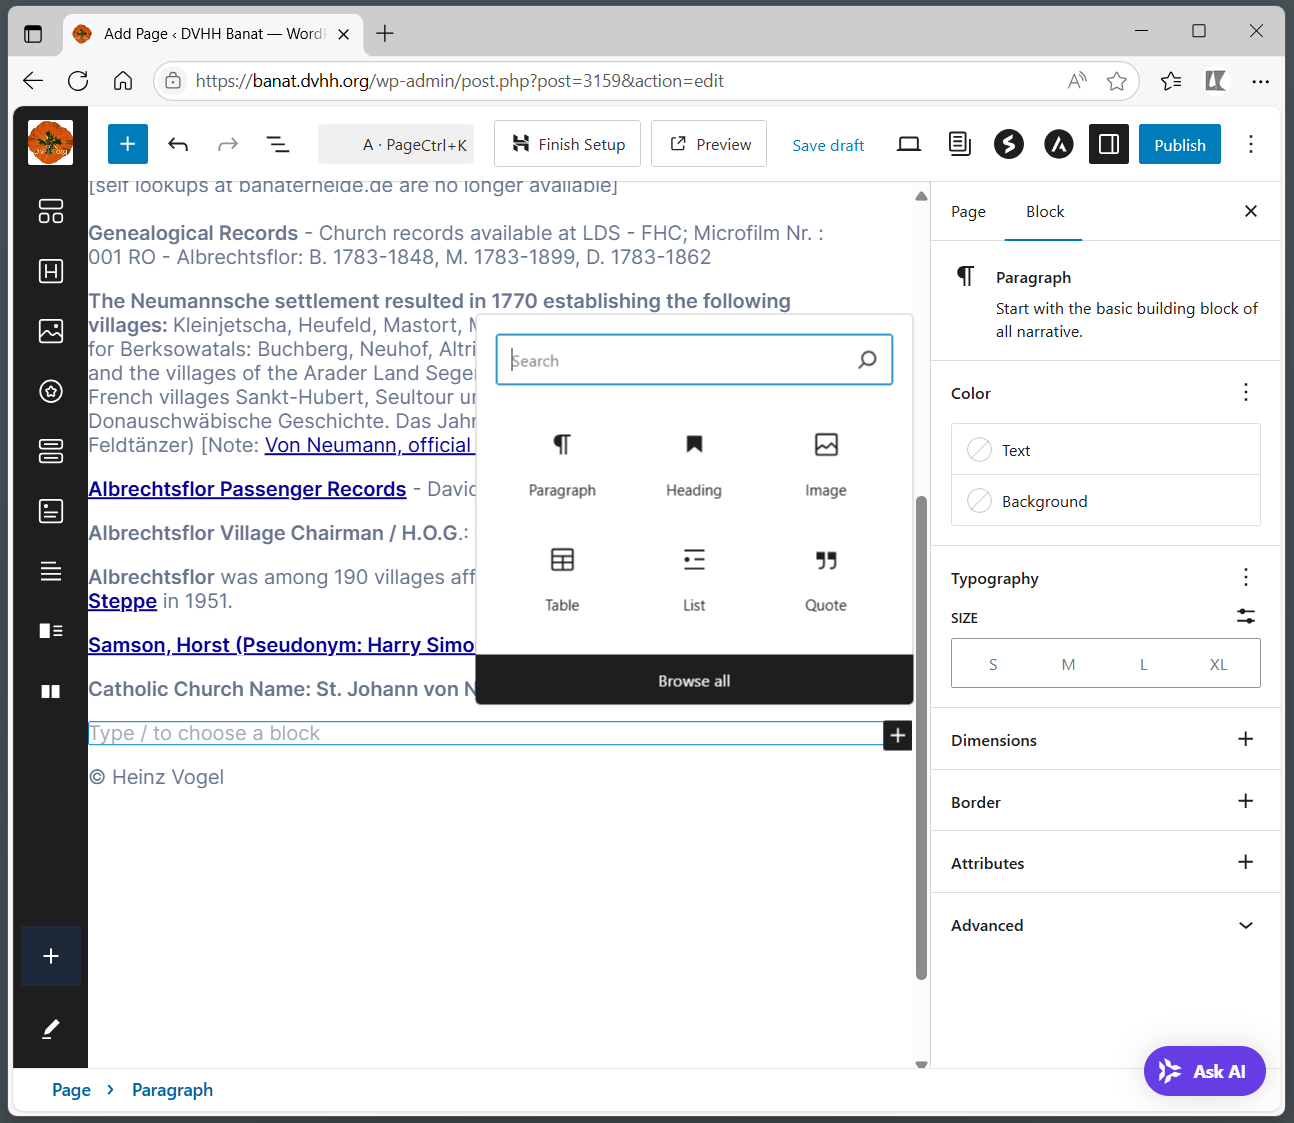
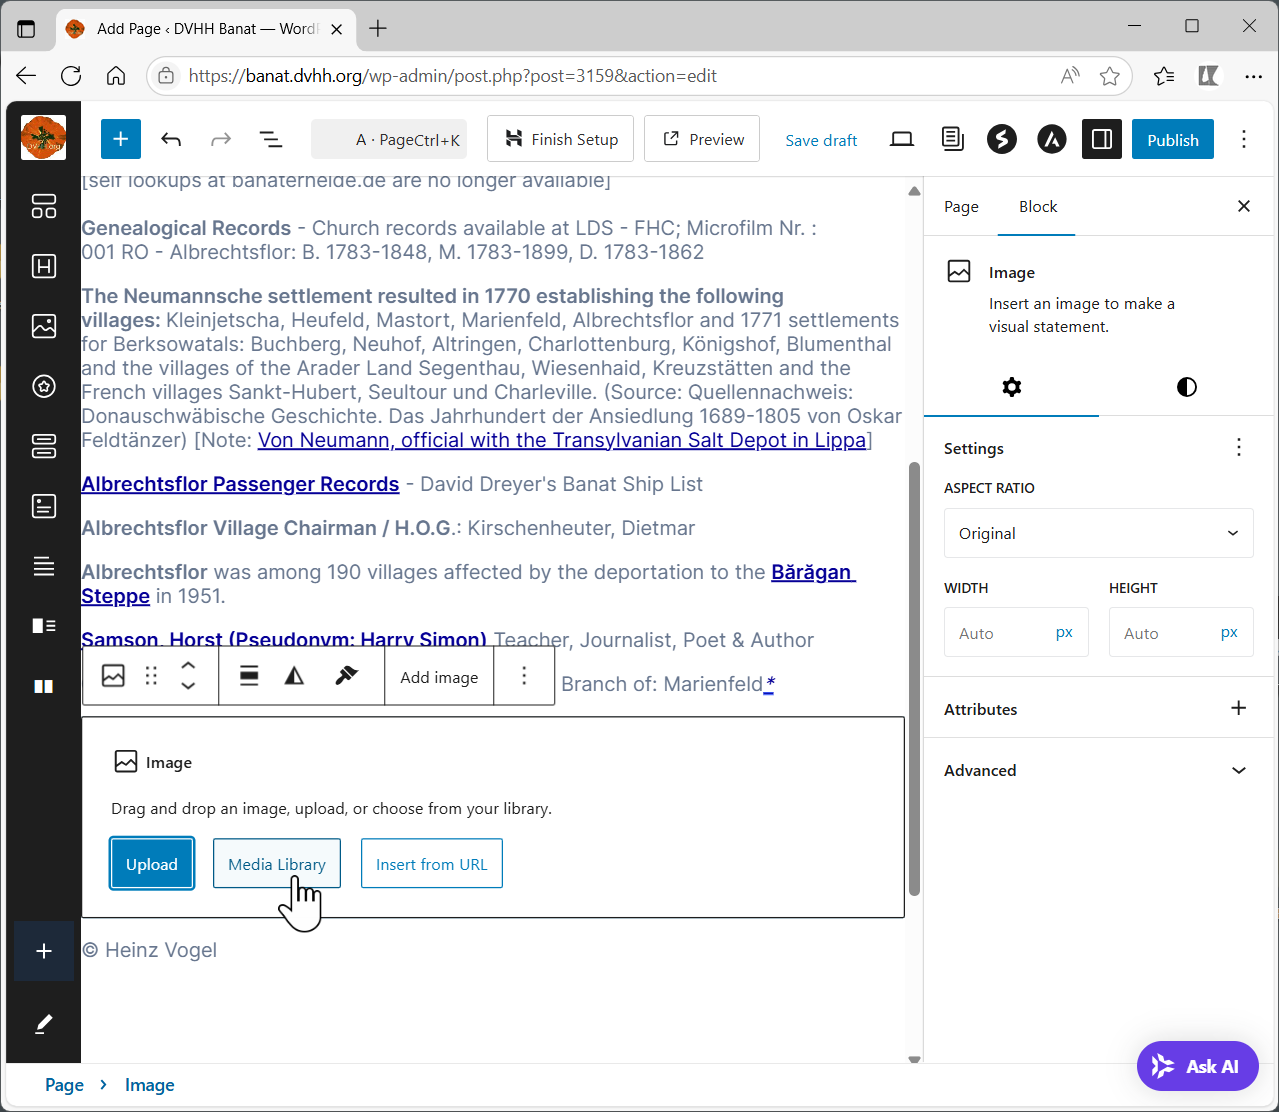
5. Insert images
If there are any images for the village on the old site, insert them into the text at approximately the same text location. The details for inserting images are shown below and also on the Insert images page.
► Click the Image icon.
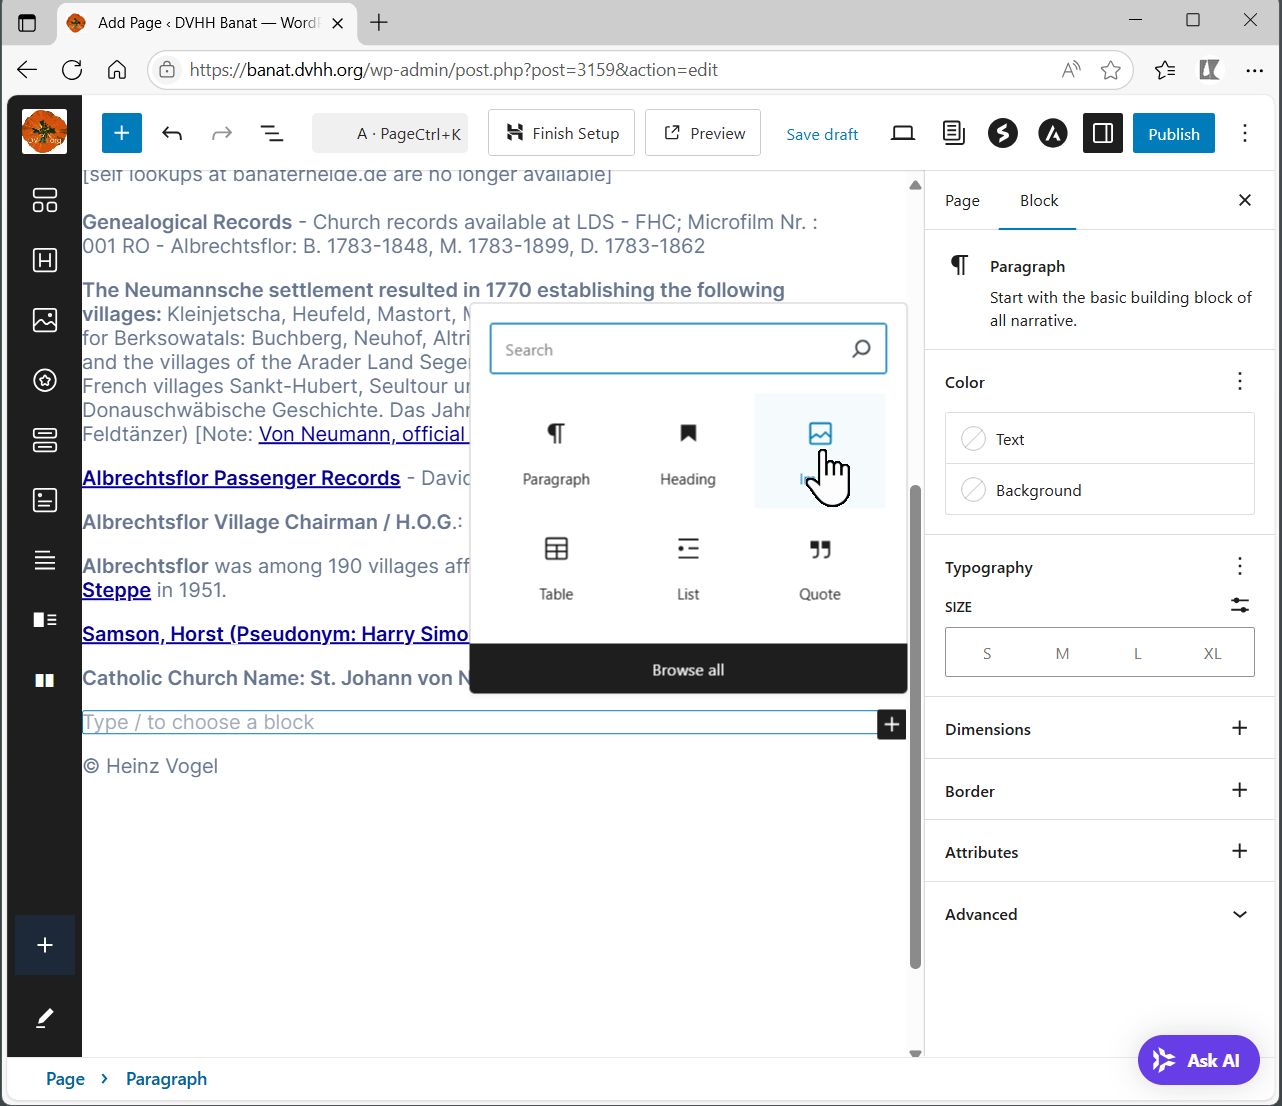
► Select Media Library.
► Then pick the correct image.
► Click Select (lower right) to insert it.
The selected image will now appear in the location that you had placed the cusor.
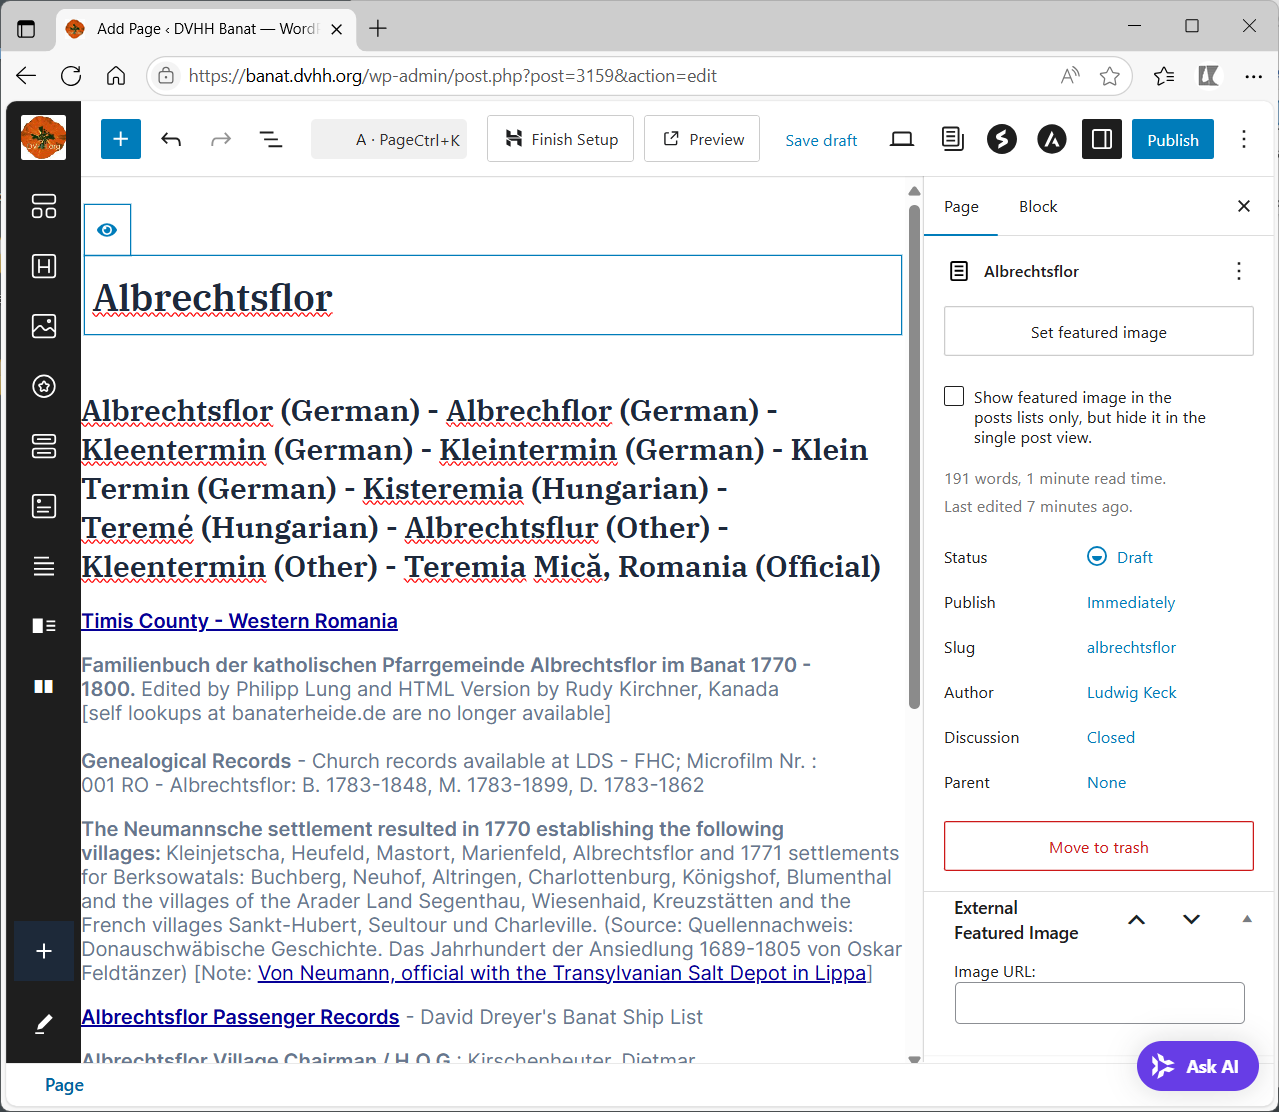
6. Set the page title
► After completing the text with images scroll up and select the first village name.
► Copy it (Ctrl-C).

► Place the cursor into the tile bar where it says Add title.
► Paste the village name.
7. Publish the new page
Inspect the page carefully. Everything should be the same as it was on the original page on the old DVHH.ORG site – with the new layout, of course. Make any needed corrections. All the links (underlined text) should be there. They will be updated later. Not everything will be in the final form.
Do not assign a Parent page to your page – that will be done later.
► When you are satisfied click Publish in the upper right.
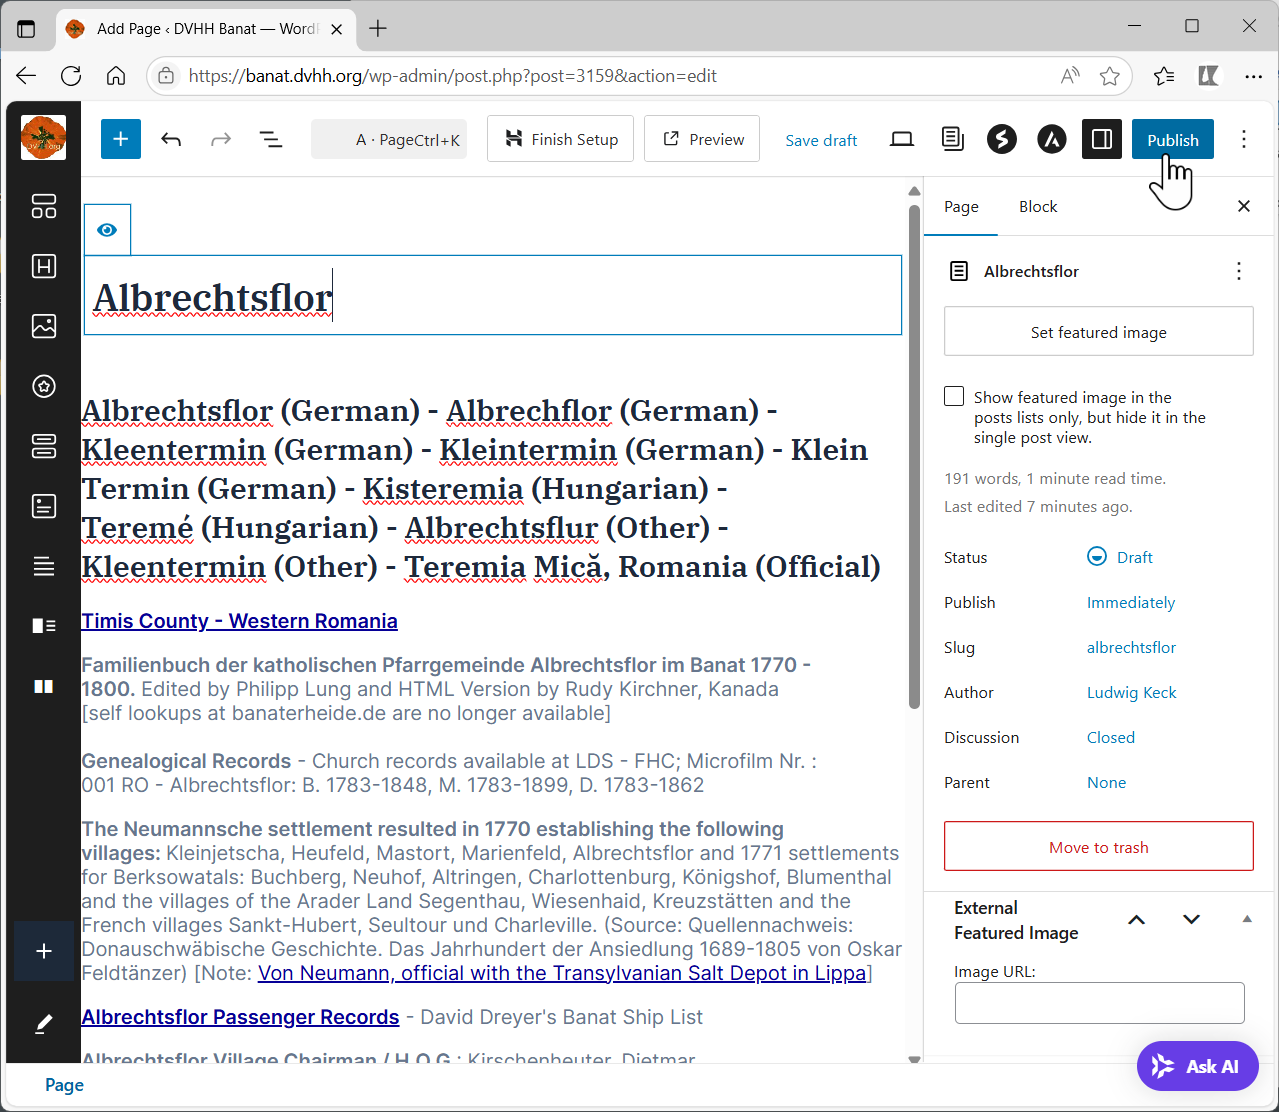
There will be a new message asking Are you ready to publish? ► Click the Publish button.
Congratulations! You have helped your fellow Helping Hands.
8. Inform the team leader of your new page
On your computer desktop start an email to the team leader with the message that you created a new page for the village, include the village name as it is on your page.
Another volunteer will complete the steps for adding the village names to the new Villages list with links to your new page.
► ► You may now do the above steps 1 through 8 for the next village on your list.